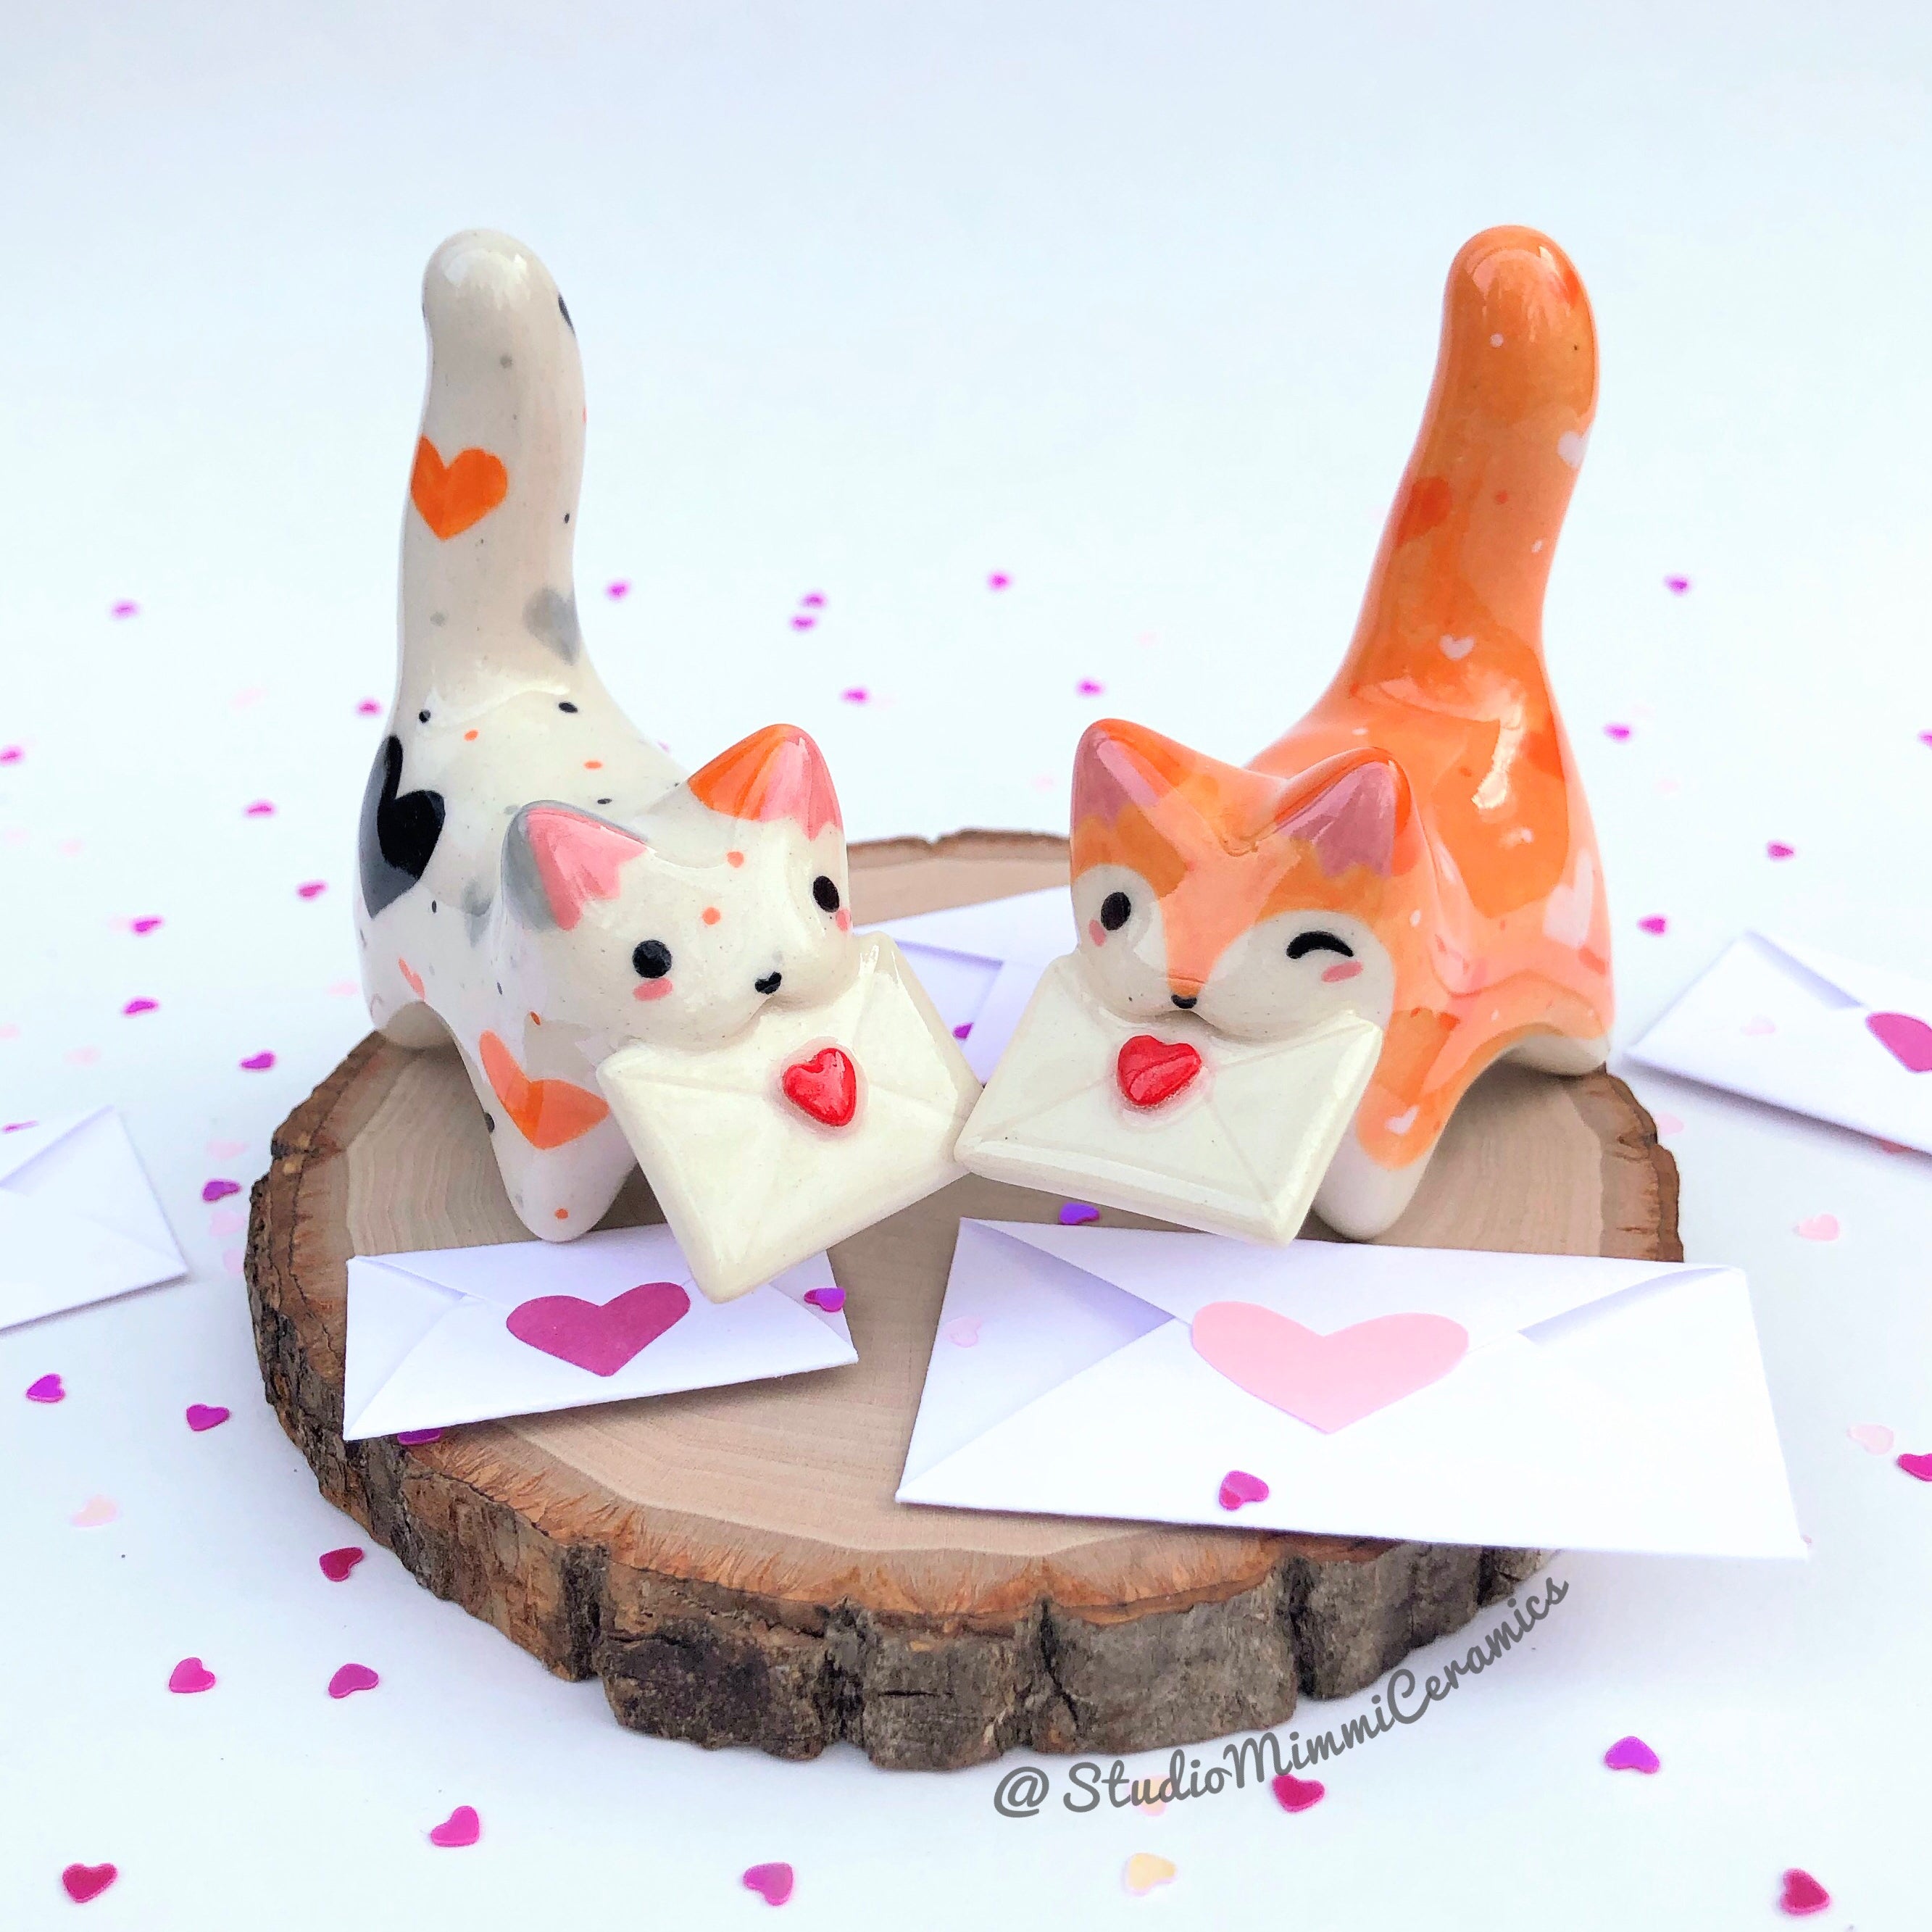
I’m so excited to be offering resin cat figurines! These cuties are cast from an original Studio Mimmi sculpture and replicated in resin. This quick guide will help you complete your kitty!
Each resin kitty comes out with a “mold line” which is a small seam where the two halves of the mold meet. The mold line runs along the midline of the cat and will be the majority of the smoothing. For more raised spots you can use an x-cato blade, scraping (not cutting) very carefully with the edge. After raised spots are removed, any smaller imperfections can be easily sanded, 400 - 600 grit sandpaper works great (the higher the grit the smoother it’ll be). To avoid breathing in small plastic particles you can add a little water while you sand and clean up with a sponge or damp paper towel.
Primer will help paint hold to the surface of the resin. You'll want to use a flat, or "matte" primer (not shiny). You can buy primer in a spray can or you can apply it with a brush. If using a spray please follow all the safety recommendations of the primer company, always spray outside or in a well ventilated area. I recommend spraying about 6-8 inches away from your kitty (spraying from too far away can cause some texturing.) Primer comes in many colors so consider what base-coat will work best. When painting on top of primer, lighter colors will require fewer coats to cover vs darker colors which require 2-3 coats.
I compared spray primer made specifically for miniatures to Krylon and found that the difference wasn’t worth the money. The mist was a little finer for a slightly smoother finish, but it took more coats to get good coverage. The Krylon worked great.
After priming, acrylic paints can be used to add colors to your cat. You can find a variety of acrylic paints online or at your local craft store. Alternatively, you can use paint pens. I personally like Posca pens, the 5M are good for doing larger areas, the 3M tips are good for details and the 1M is great for precision details like eyes.
Want to add accessories to your resin cat? Sculpey is an oven bake polymer clay that you can use to add accessories to your cat, like a hat, a little pumpkin, wings, a ladybug, ANYTHING! Sculpt your brilliant idea and follow the baking instructions on the Sculpey package. After being baked you can leave it as a separate item or glue it to your resin cat using a strong adhesive.
Important note: please do NOT bake your resin kitty.
A sealant will help protect your finished kitty and you can give it a shiny finish if desired. Like primer, you can purchase brush on or spay on varnish and get it in a wide range from a matte finish to a super gloss. Brush on options seem to produce more reliable results.
I’d absolutely love to see your decorated kitty! If you’d like to share pictures you can send them to me on Instagram @StudioMimmiCeramics
Thanks for subscribing!
This email has been registered!
